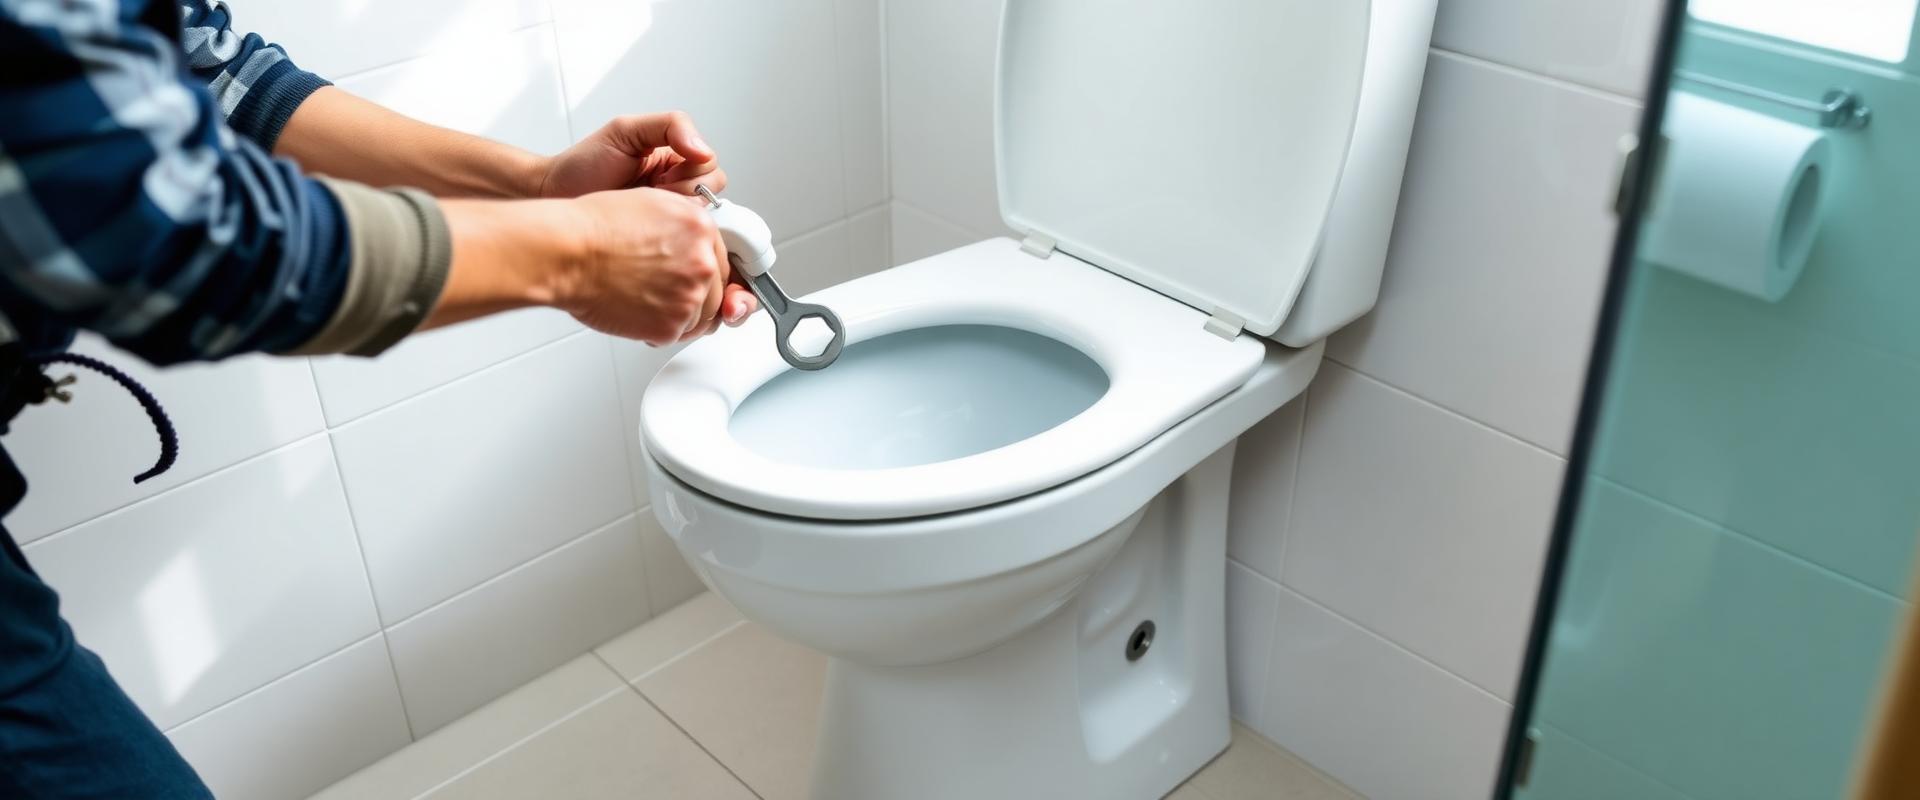
You searched a flapper, so here is the honest version before you scroll: a worn flapper is the single most common reason a toilet runs, and on most tanks you can swap it yourself in about ten minutes for the price of a part off the hardware store shelf. It is a real DIY job. But there is one thing behind that flapper that turns a ten-minute fix into a tank rebuild, and in the Denver Metro we see it constantly because our water is hard enough to chew through the part the flapper seals against. This guide walks the swap step by step, tells you exactly where to stop, and threads in the trick we use to prove whether it is even the flapper before anyone buys a part.
If you would rather skip the tank contortions, describe what your toilet is doing through our 30-second online quote form or call (720) 880-8064. We diagnose the fault first, then hand you one flat-rate number. You know the total before we touch anything.
Toilet keeps running after flush: prove it's the flapper first
A running toilet has three possible causes, and swapping a flapper you didn't need is wasted money and a wasted trip to the store. Before you buy anything, run the test we use on every running-toilet call across the metro.
That single test sorts the two failures that get confused constantly. A phantom flush, where the tank refills on its own every few minutes with nobody touching it, is almost always the flapper: water slowly escapes the tank until the level drops enough to trigger a refill. A toilet that never stops filling, where the tank won't top off and the fill valve keeps running, is the valve itself. Opposite parts, opposite fixes.
If the dye test points at the flapper, keep reading. If it points at the fill valve, jump to the fill-valve section below before you buy the wrong part.
How to replace a toilet flapper: the step-by-step
The flapper is the rubber or silicone seal at the bottom of the tank. When you flush, the handle lifts it, the tank dumps into the bowl, and the flapper drops back to seal for the refill. Here is the swap, start to finish.
1. Shut off the water and empty the tank. Turn the shutoff valve on the wall behind the toilet clockwise until it stops. Flush once to drain the tank. Sponge or towel out the last inch so you're working dry. 2. Unhook the old flapper. Unclip the chain from the flush lever arm. The flapper ears either slide off two pegs on the sides of the overflow tube or unsnap from a ring at its base. Note how it sits before you pull it, so the new one goes on the same way. 3. Wipe the flush valve seat and inspect it. This is the step most guides skip and the step that decides whether your fix holds. Run a finger around the rim the flapper seals against. It should feel smooth. If it feels gritty, pitted, or has a chalky mineral crust you can scrape with a fingernail, stop and read the "when to stop" section below. A new flapper cannot seal on a bad seat. 4. Set the new flapper. Clip or slide it onto the same pegs or ring, matching the old one's orientation. Most modern flappers are universal-fit for standard 2-inch flush valves, but bring the old part to the store to match it (more on sizing in the FAQ). 5. Set the chain slack. Reconnect the chain to the lever arm with just a little slack, about half an inch of play. Too tight and the flapper never fully seals, so it keeps running. Too loose and the flush is weak because the flapper drops early. 6. Turn the water back on and test. Let the tank refill, then flush and watch. The flapper should lift clean, drop, and seal. Wait a few minutes and listen for phantom cycling. Run the dye test one more time if you want to confirm the seal.
"You shouldn't need to replace a toilet flapper twice in the same year. If you do, the flapper was never the problem. The seat it's closing on is."
That last line is the one thing we wish more homeowners knew before they buy their third flapper of the year.
Toilet flapper vs fill valve: which part actually failed
These are the two workhorse parts inside every tank, and mixing them up is why people replace the wrong one. Here's the plain-language split.
The dye test up top tells you which side you're on in 15 minutes. If it's the fill valve, that's still a homeowner-doable swap on many toilets, but the part matters more than people think. Here on the Front Range we replace fill valves with a quality Korky or Fluidmaster assembly rated for Colorado's mineral-heavy water, not the cheapest one on the shelf. Denver Water runs a consistent 12 to 15 grains per gallon, hard enough that a bargain valve scales up and starts hanging open again within a few months. Buying the good part once is cheaper than doing the job twice.
Not sure which part you're looking at, or the dye test came back muddy? Send us a quick description through the online quote form and we'll tell you which fix you're facing. Or call (720) 880-8064 and describe what you're hearing.
When to stop and call a plumber instead
We mean it when we say swap the flapper yourself. We also mean it when we say some of these are not a flapper job. Stop and call if any of this is true:
When you hit the scaled-seat wall, that's the flat-rate call. We diagnose the fault, then quote one number covering parts, labor, and haul-away of the old components. We use parts rated for Colorado's water rather than the cheapest flapper on the shelf, because that's what keeps you from calling us back. Deft Plumbing is licensed, bonded, and insured in Colorado, and we fix running toilets across the Denver Metro with no hourly clock running. Curious what the number looks like first? Here's what a toilet repair actually costs.
Frequently asked questions
What size toilet flapper do I need?
Most toilets built in the last two decades use a standard 2-inch flush valve, which takes a 2-inch flapper, and that's what the majority of universal-fit flappers on the shelf are made for. Some higher-capacity and older toilets use a 3-inch flush valve, which needs a larger flapper that won't interchange with the 2-inch kind. The fastest way to get it right: pull your old flapper and take it to the store to match the size and mounting style, or measure the drain opening at the bottom of the tank. If you're between sizes or the mount looks unusual, describe your toilet through our quote form and we'll spec the right part.
Why does my toilet flapper keep failing in hard water?
Because in the Denver Metro it's usually not the flapper failing, it's the seat underneath it. Denver Water runs a consistent 12 to 15 grains per gallon, and that mineral load scales and pits the flush valve seat, the rim the flapper closes against. Once the seat is rough, no flapper can get a clean seal, so a brand-new one starts leaking within weeks and you assume the flapper was bad. After years of fixing running toilets here, we've learned the seat pits far faster than the manuals claim. If you're on your second or third flapper in a year, stop replacing the flapper. The seat needs to be addressed, and that's a flush valve job, not a rubber swap. Call (720) 880-8064 and we'll diagnose it before quoting.